Outline Stage Overview
Last updated 9 months ago
Open this article in a separate tab
Ready to Create Your Scenario?
You've got your strategic foundation from Module Planning - now let's turn that into an actual interactive experience! The Outline Stage is quick and easy. You're setting up the basic framework: scenes and interactive zones.
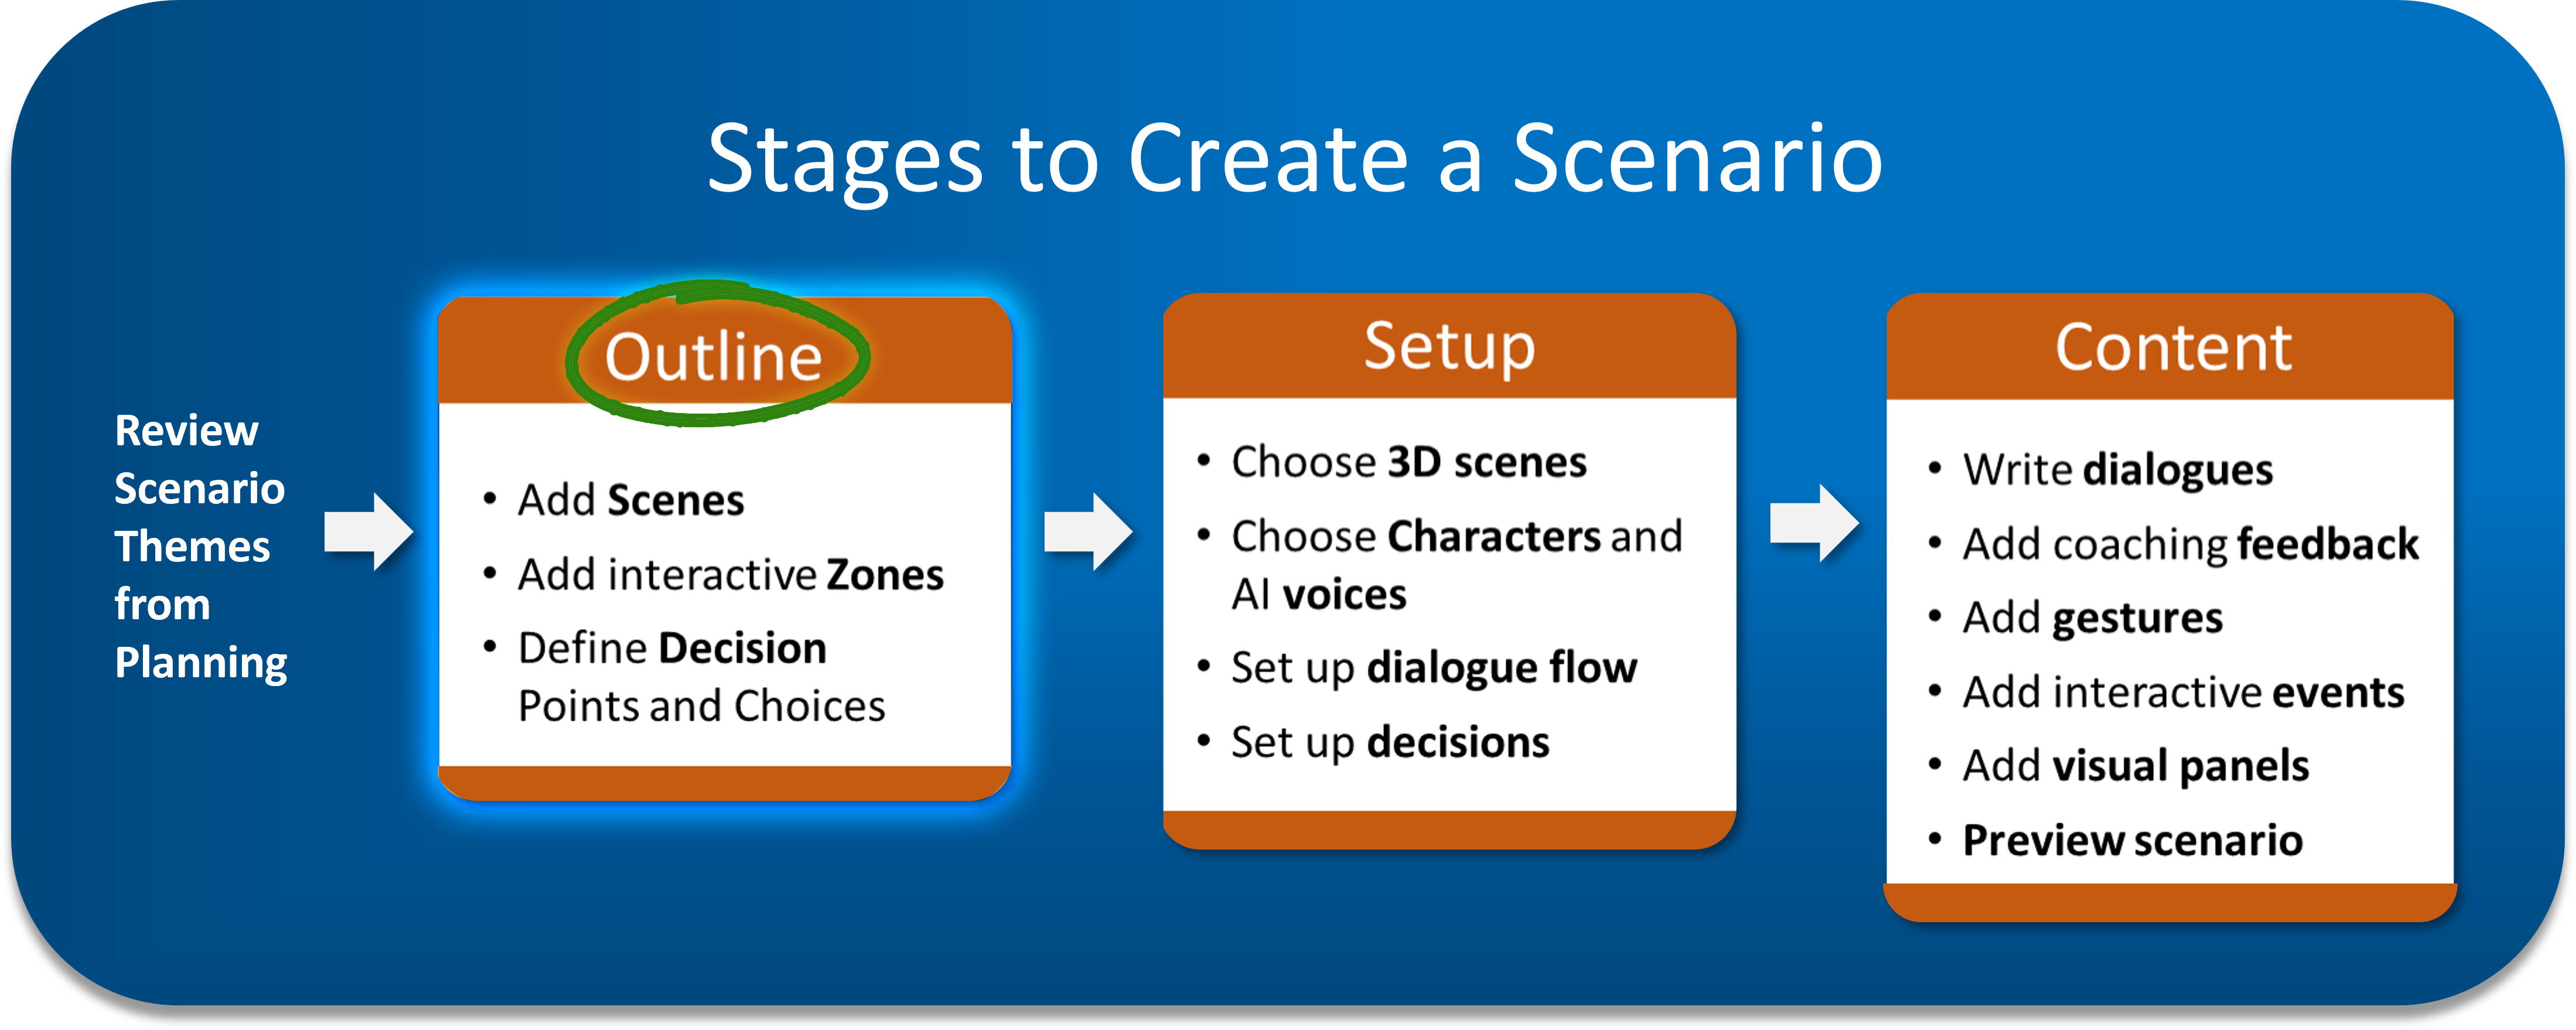
You're in the first of three creation stages. Like building a house, you want the foundation right before adding details - moving the kitchen after the walls are up is painful!
Don't Miss This: Name Your Scenario
At the top of the interface are fields many people skip:
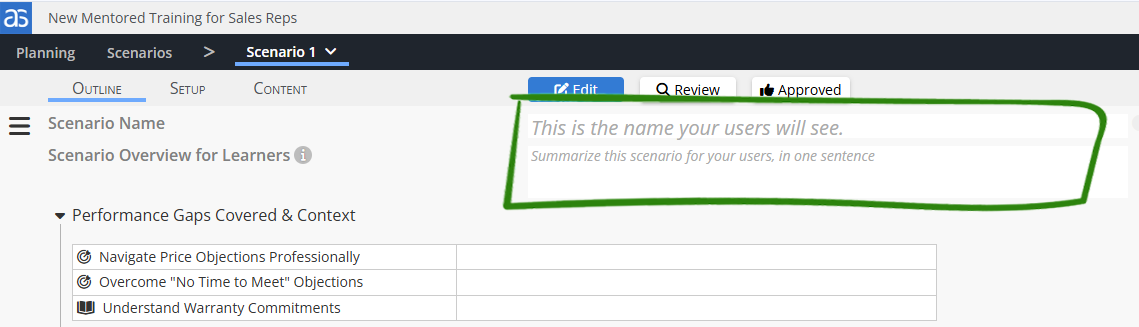
Scenario Name: What learners see - "Handling a Difficult Customer" beats "Scenario 1."
Brief Overview: Help learners understand what they'll experience.
💡 Keep It Intriguing: Don't give away the specific Performance Gaps in your scenario name or overview - let learners discover the learning through the experience!
Scenes and Interactive Zones
Think movies - you need different locations where your story unfolds, and interactive moments where learners participate.
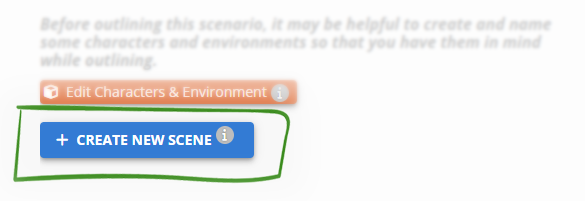
Scenes are your locations: "The Manager's Office," "Conference Room," "Customer Service Desk." Most scenarios work well with 2-4 scenes.
Zones are where the action happens: The interactive moments within each scene where learners engage through conversation, decisions, and assessments.
Preview Available Environments
Before planning too deeply, take a quick look at available characters and environments.
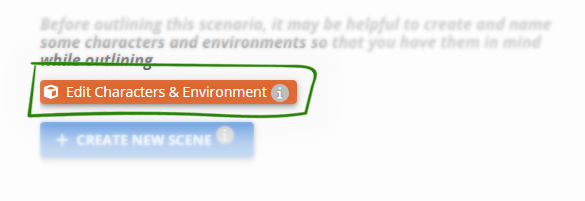
💡 Quick Check: You don't have to assign anything now, but checking what's available prevents planning characters in a park when there's no park environment!
The Four Zone Types
Now for the fun part - deciding what interactions happen in each scene:
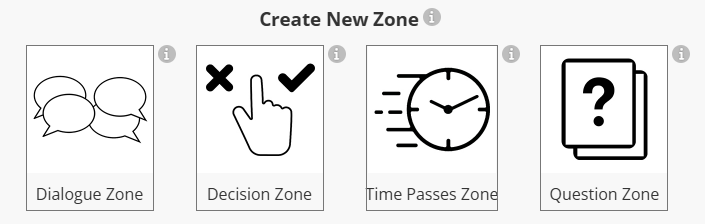
Dialogue Zones (💬)
Where characters have conversations and learners discover information.
👉 Dialogue Zones - Use Your Imagination
👉 Dialogue Zones - Use Your Imagination
These aren't just setup for decisions! Characters can explain concepts, debate ideas, reveal information through discovery, show visual panels, demonstrate processes. Think of all the ways people learn through conversation in real life.
Decision Zones (👆)
You'll need to create decisions in the Content Library first, then assign them to these zones. Check out this article for more details on how decisions are created.

Core Decision Pattern
Core Decision Pattern
Most effective scenarios use the Dialogue Zone → Decision Zone pattern. Set up the situation through conversation, then let learners decide what to do and receive expert coaching until they recognize the optimal paths.
Time Passes Zones (🕓)
You're in a simulation - you have time travel! Travel just a few minutes, a few days, or even years to show consequences or move to new situations.
👉 Time Travel to Fix the Train Wreck
👉 Time Travel to Fix the Train Wreck
Create a dialogue zone showing a train wreck situation, then say "If we could travel back in time, what would you do differently to prevent this? Well, we are in a simulation and we can do that. Click on me and we'll go back in time." Time travel opens up amazing storytelling possibilities!
Question Zones (❓)
Ask opinions, check knowledge, create pre/post assessments. Use conversation to introduce them creatively - not just a boring knowledge check!
🔍 Strategic Tip: Questions aren't as powerful as decisions with coaching, so use both strategically.
Common Scenario Flows
👉 Situation → Decision Flow
👉 Situation → Decision Flow
The classic: Dialogue Zone sets up situation → Decision Zone creates a compelling decision point → Characters react to choices and provide feedback until all the optimal choices are recognized.
👉 Following Through Time
👉 Following Through Time
Use Time Passes zones to make decisions about an employee, prospect, or patient over time. See how choices play out across weeks or months.
👉 Typical Complete Flow
👉 Typical Complete Flow
Dialogue Zone → Decision Zone → Time Passes → Dialogue Zone → Decision Zone → Dialogue Zone (wrap-up) → Question Zone (opinion/post-test)
Organizing Your Zones
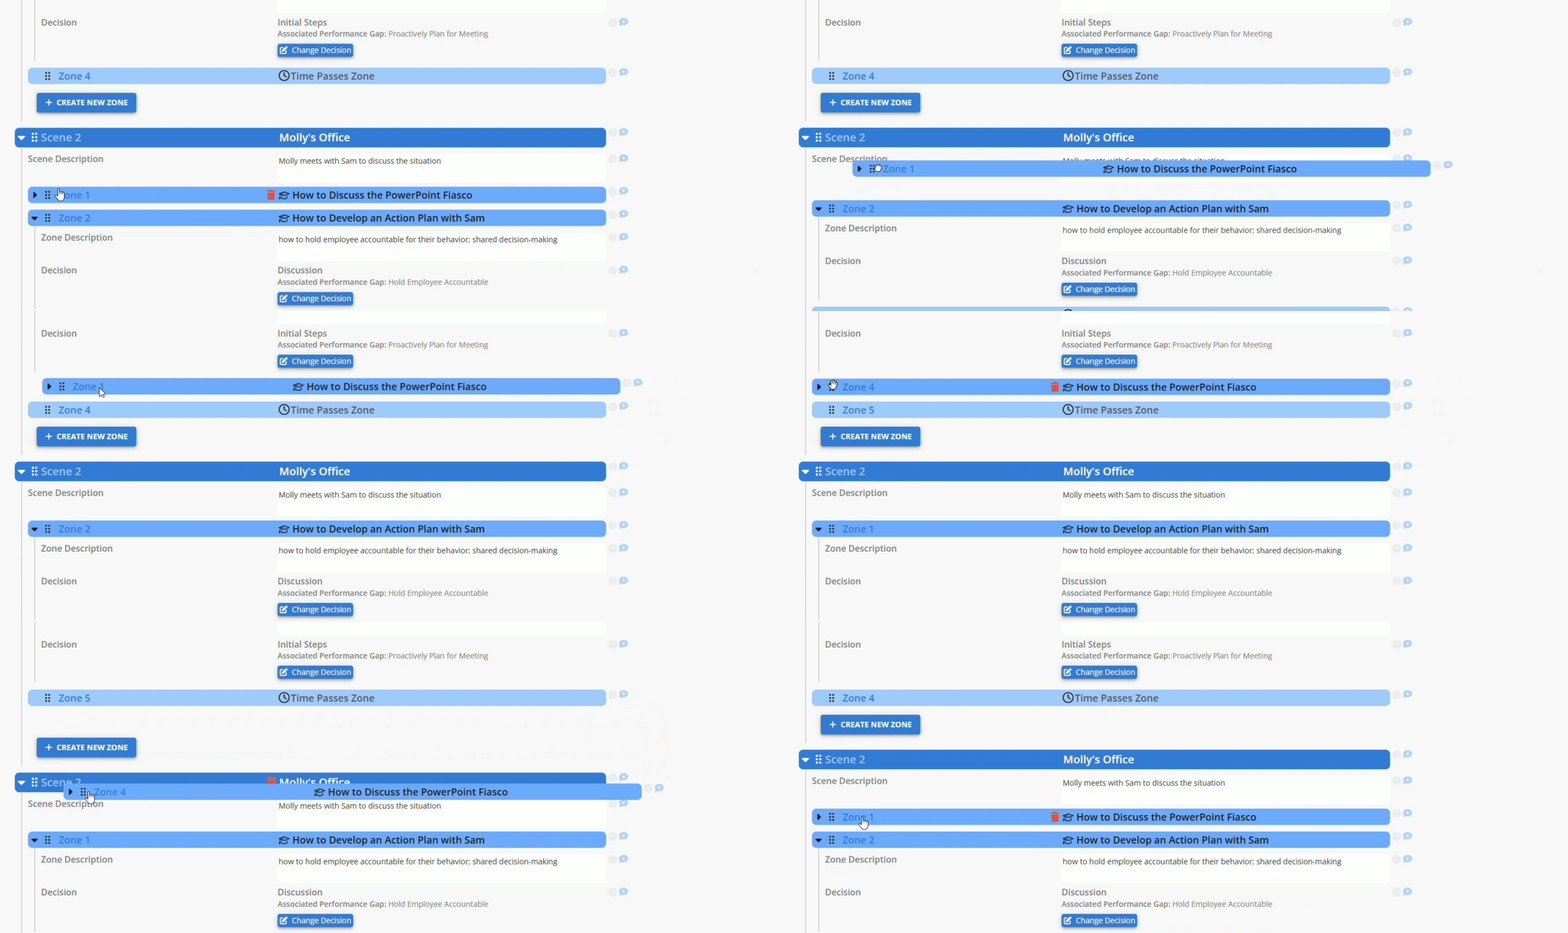
The interface is flexible:
Drag zones between scenes using the grip dot icon
Reorder zones within scenes for better flow
Add or remove zones as ideas develop
Zone descriptions are optional but can help you remember your intent later.
Ready for Setup!
Your scenes and zones are outlined - time to bring them to life! Click "Setup" to choose environments, add characters, and configure all the interactive elements.
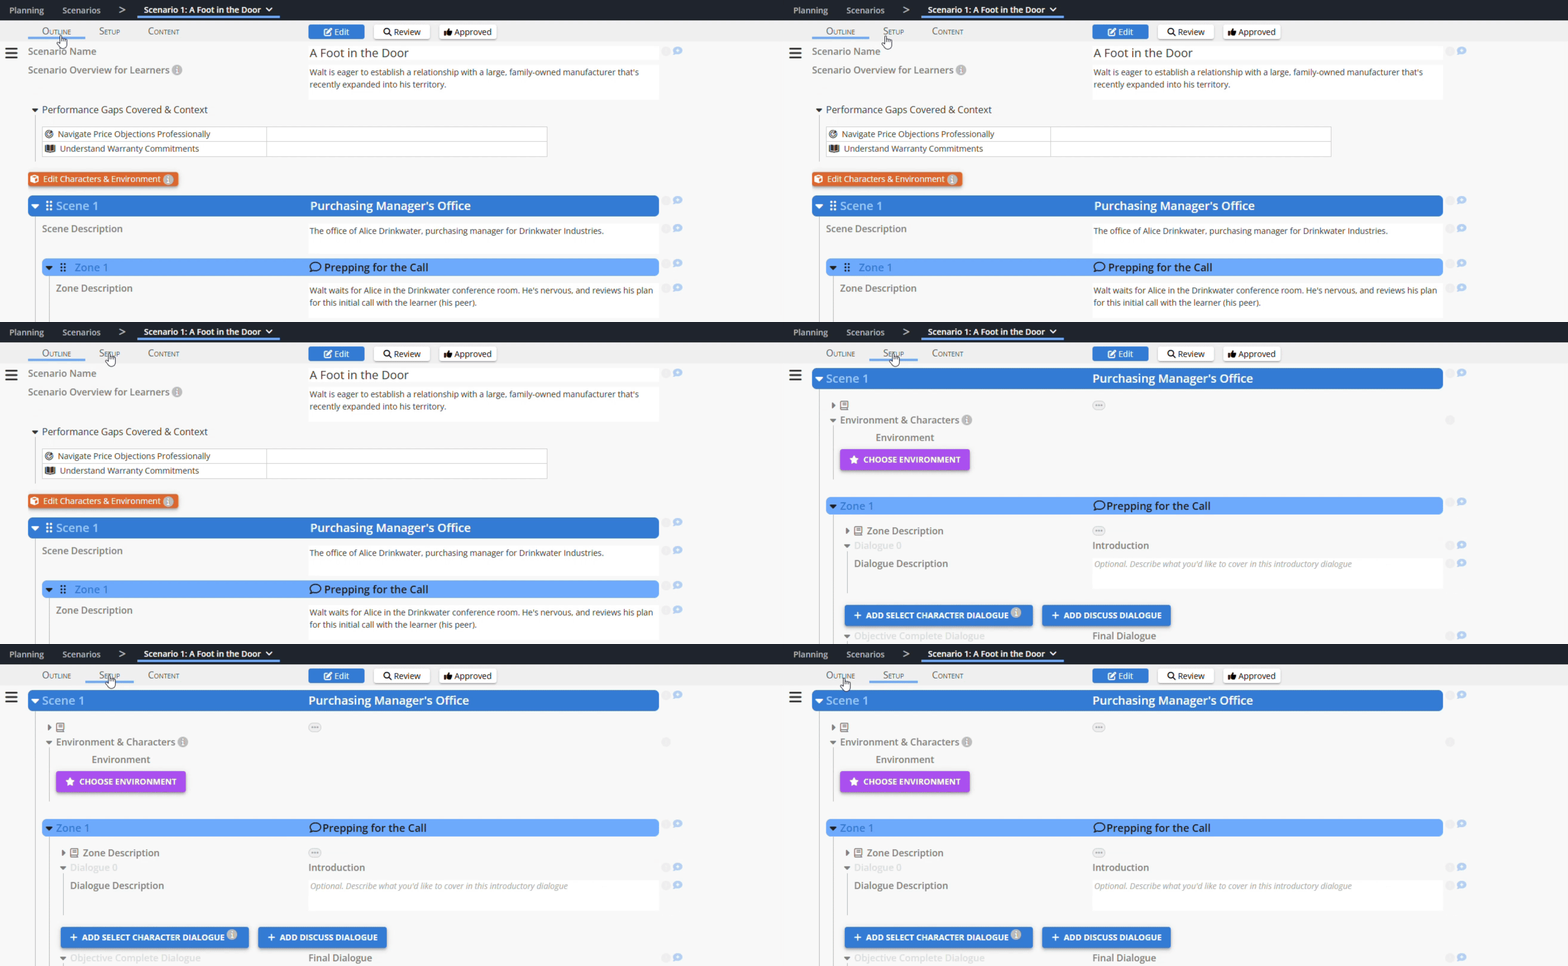
What you've accomplished: You've set up the scenario flow. You've got your scenes and interactive zones ready to go - now let's make them amazing!
Your creative foundation is solid - let's add the characters and environments that will bring your scenario to life.
Powered by Syandus Immersive Learning Technology
Was this helpful?
Still need help? Ask the team